
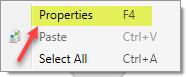
- From the Workflow Designer app, right click an open area and click Properties.
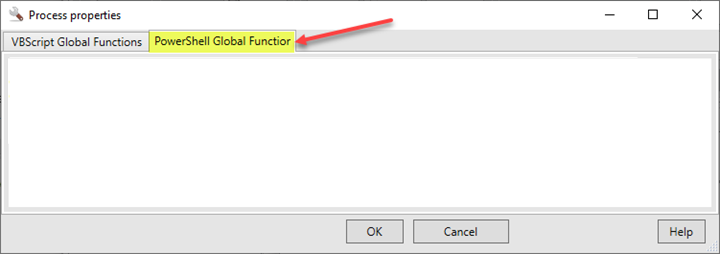
- Select PowerShell Global Functions.
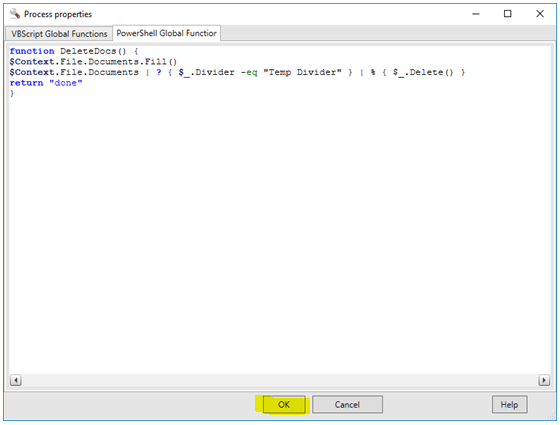
- Copy and paste the following to create a PowerShell script to delete documents in a divider named "Temp Divider".
- function DeleteDocs() {
$Context.File.Documents.Fill()
$Context.File.Documents | ? { $_.Divider -eq "Temp Divider" } | % { $_.Delete() }
return "done"
} - Click OK.
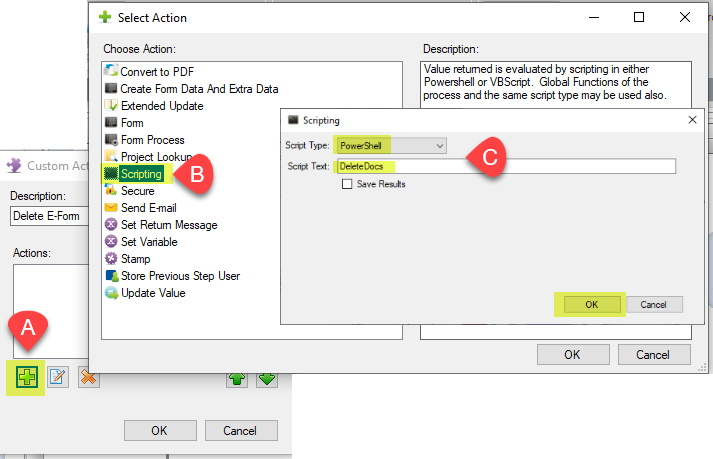
- To use this PowerShell script in your workflow, create and configure a Custom Action stencil by dragging a Custom Action stencil to the workflow diagram window.

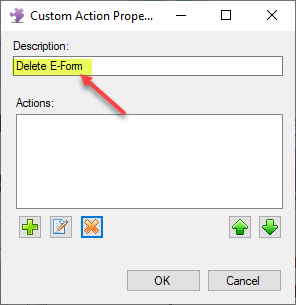
- Open the Custom Action. Edit the description so it is meaningful such as Delete E-Form.
- Add a PowerShell Scripting Action and name it DeleteDocs and click OK.
- Place the newly created stencil in your workflow diagram where and when you want to delete documents in the divider named "Temp Divider". You may need to add a Pause stencil to pause a few minutes just before this stencil to make sure document(s) in the "Temp Divider" aren't in use prior to attempting to delete them.