You can create rules that allow you to show or hide and disable or enable specific controls on a web form based on conditions that have been configured. Rules can be set up directly in the Forms Designer as you are creating the form, or in Form Settings. This is a nice feature to use when the web form is only supposed to show applicable fields or data that meets specific criteria. It also provides a clean and precise appearance in use-case scenarios where the phrases “If so, when?” and “If yes, please explain” are used.
Rules consist of conditions which are created based on the values that are selected for either checkbox controls or radio button controls on the web form. There is no limit to the number of conditions that can be added to a control.
When using rules, it is very important to understand the full layout of the web form you are creating and how you are expecting it to behave while it is being filled out from the portal. For example, when using a non-responsive web form layout, the items on the form will not shift. But if you use a responsive web form layout, the controls will shift if applicable.
Add conditional rules in the Form Designer
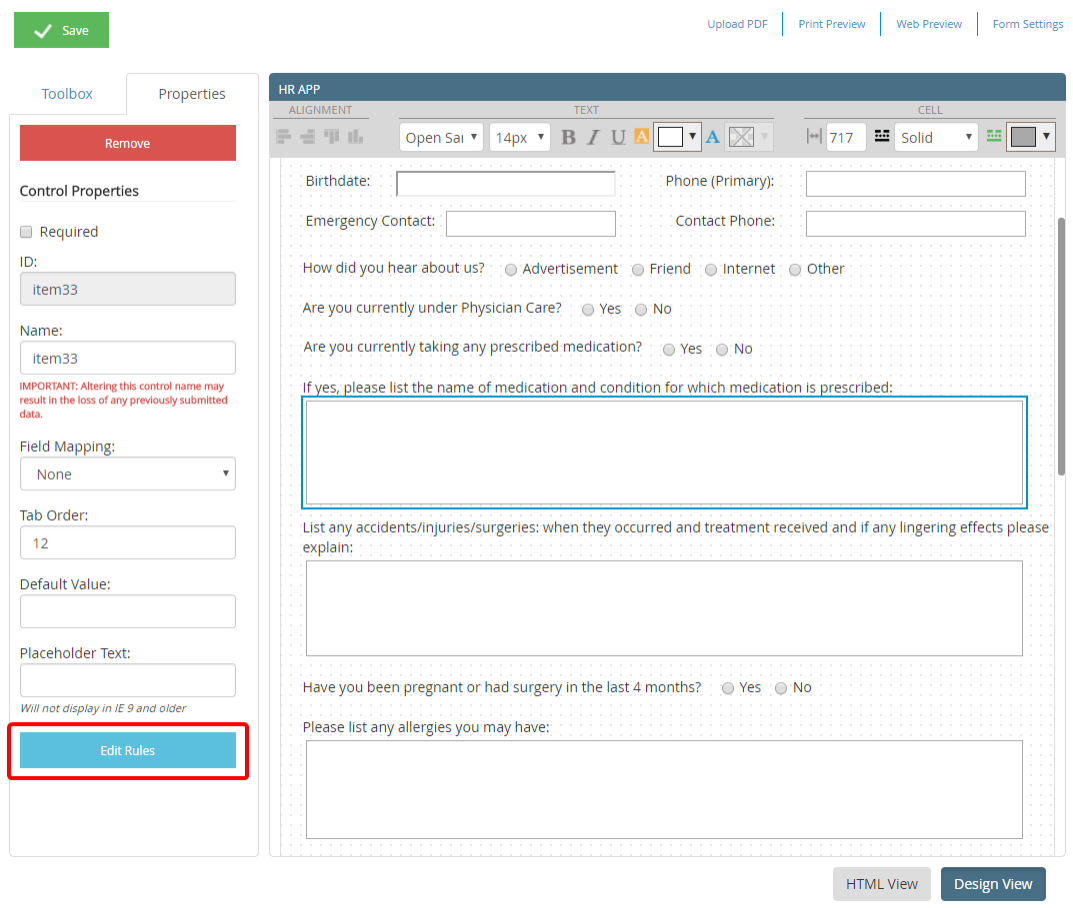
- Open a web form in the Form Designer.
- Drag a control onto the form or select an existing one.
- On the Properties tab, click Edit Rules.
4. Configure conditions for the control, then click Save.
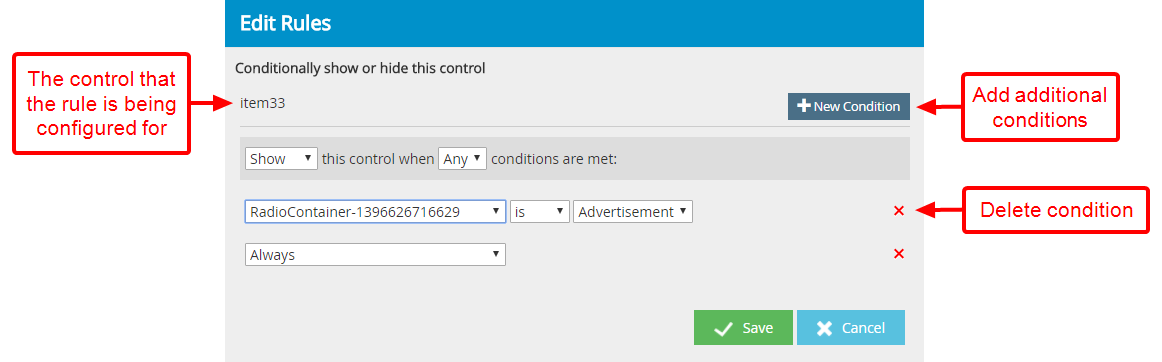
Show: The control will be visible on the form if the configured conditions are met.
Hide: The control will be hidden on the form if the configured conditions are met.
Enable: The control will be enabled on the form if the configured conditions are met.
Disable: The control will be disabled on the form if the configured conditions are met.
Any/All – This option is used to setup the relation to the control. If Any is selected then the configured rule is followed if any of the conditions are met. This is used for “and/or” scenarios. If All is selected then the configured rule is not followed until all of the conditions are met.
Always: – Keeping this drop-down at Always will just always show the control. This is the same drop-down that will be used as a reference to the element on the form where the condition is being set to. In this example; RadioContainer is referencing a radio button control on the form. If an element is selected from this drop-down, then two more drop-downs will appear so the condition can be completed. The middle drop-down contains an Is or Is Not statement to determine whether the condition should match the value specified for the form control that is selected in the far right drop-down.
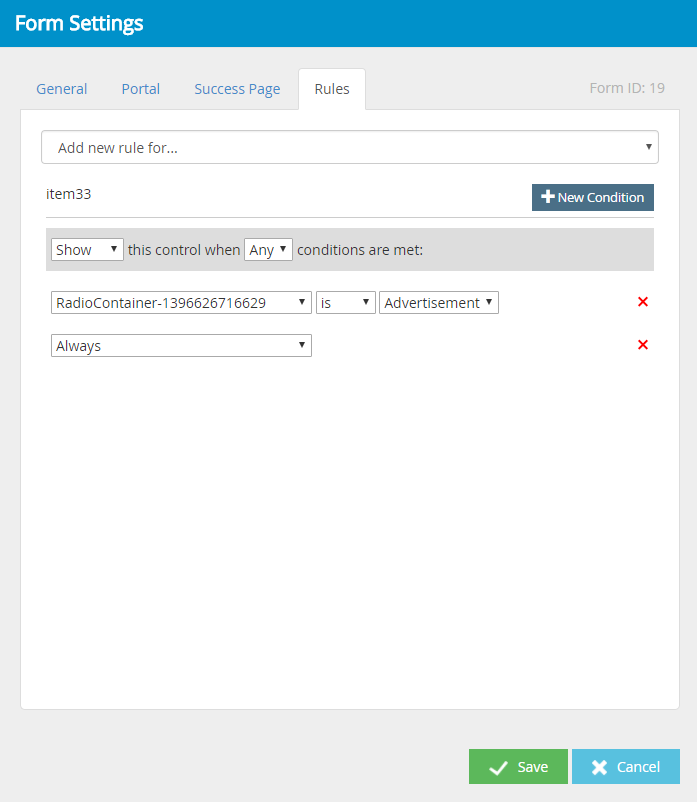
Submission Form Settings - Rules Tab
This tab will show all of the conditional rules that have been applied to any control that is found on the current web form. Users can add additional conditions to existing items or remove conditions. Rules can also be created for other controls. If there are no existing rules set up for the form, this tab will be blank.