Step 1: Select the Target Project
- Locate and select the project you want to enable the Windows Viewer.
Step 2: Access Plug-in Settings
- Within the selected project, go to the Configuration tab.
- Click on Plug-ins to open the plug-in settings.
Step 3: Add a New Plug-in
- Click Add on the right-hand side.
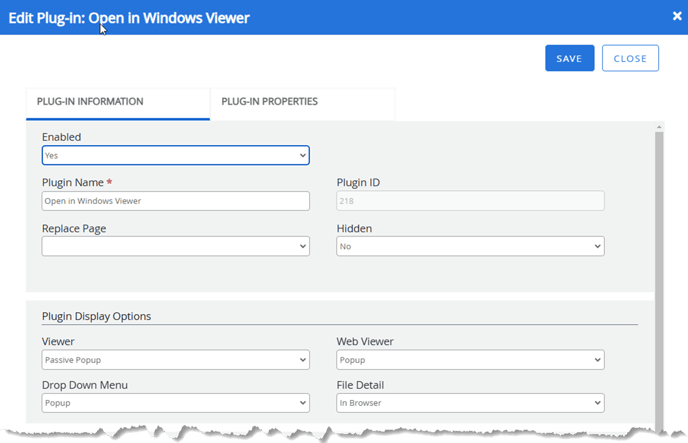
- Configure the Plug-in Information as follows:
- Set Enabled to Yes.
- Enter Open in Windows Viewer in the Plug-in Name field.
- Set Hidden to No.
- Set Viewer to Passive Popup.
- Set Web Viewer to Popup.
- Set Drop Down Menu to Popup.
- Set File Detail to In Browser.
- Configure the Plug-in Properties as follows:
- In the File Path field, enter:
Output/Viewer.ashx?ShowFileViewer=true&viewer=0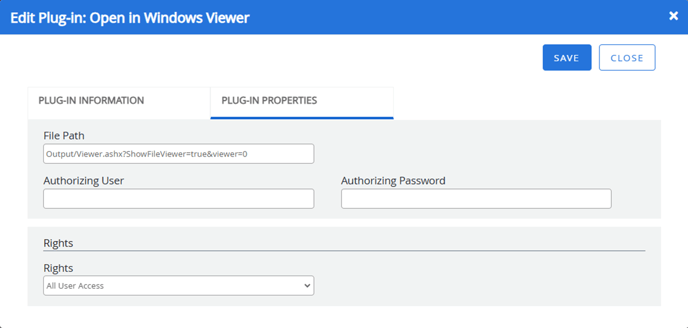
- In the File Path field, enter:
- Click Save.
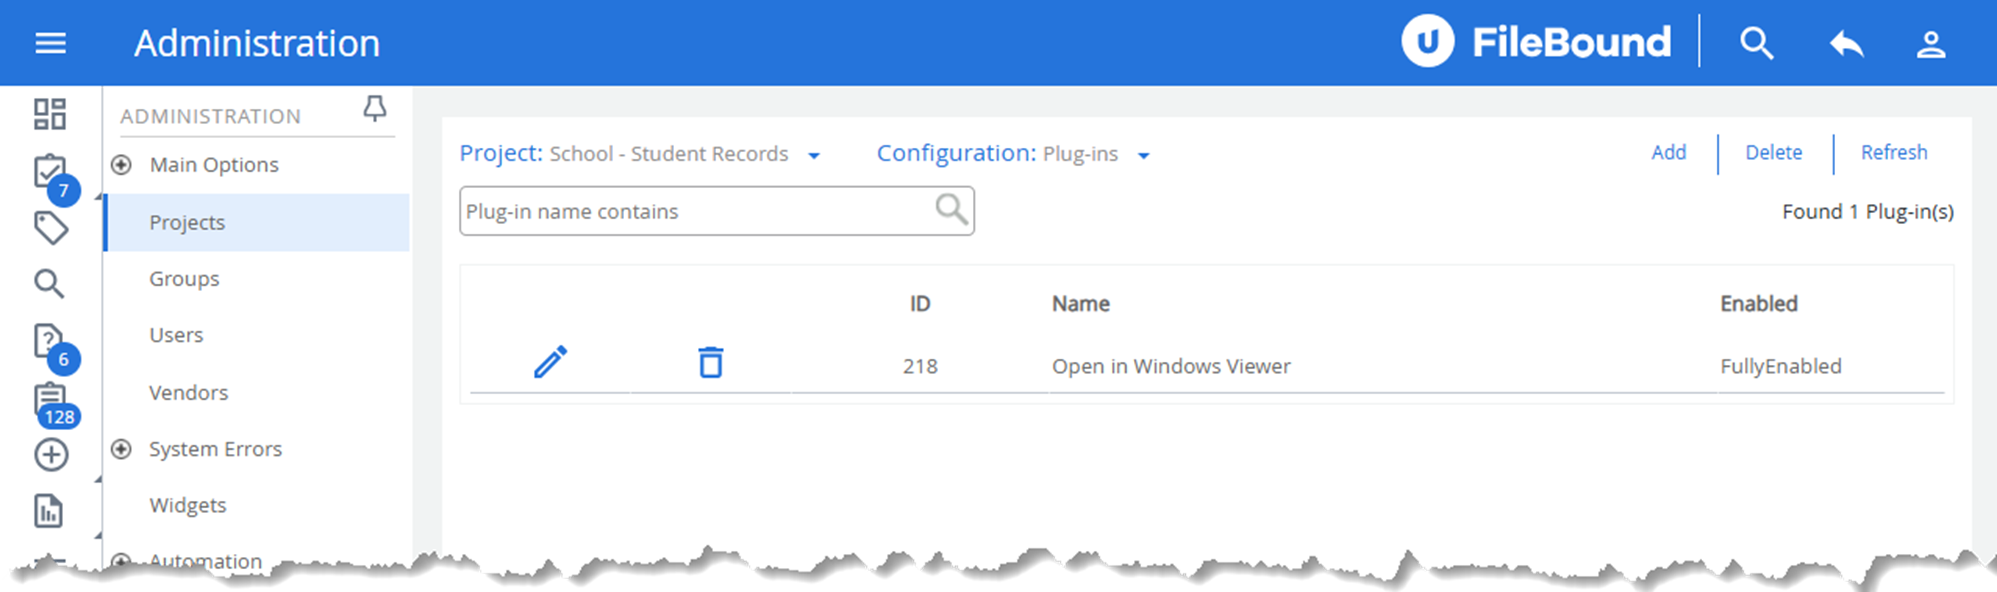
Step 4: Verify the Plug-in is Enabled
- After saving, the Open in Windows Viewer plug-in should appear in the list with an ID and status set to FullyEnabled.
- If necessary, refresh the page to confirm the settings.
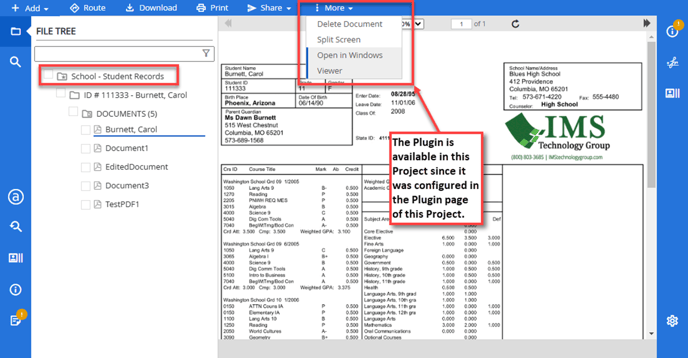
Step 5: Test the Windows Viewer
- Open a document within the selected project.
- In the More dropdown menu, look for Open in Windows Viewer and select it to view the document using the Windows Viewer.